
This is the stage where your van starts becoming more than just a shell, it's going to start becoming your tiny home.
You’re setting up the systems that will power your lights, keep you warm, help you cook, and let you stay out longer without relying on RV parks or shore power plug-ins.
It can feel overwhelming at first, but you don’t need to be an electrician or plumber to figure this stuff out. You just need a plan — and that’s what this guide will help you with.
💌 This is part of our DIY Camper Van Build Series — a members-only guide from Campers and Camping.
We’re breaking down how to go from empty cargo van to custom camper, one step at a time.
✨ Not subscribed yet? Join the community and unlock the full series →

🔧 DIY Camper Van Build Series: Table of Contents
- Planning your DIY van conversion
- Prepping your van for conversion
- Designing your van layout and style
- Electrical, insulation, and utilities ← You are here
- Building the core van structure
- Finishing touches + van life essentials
1. Start with your electrical plan
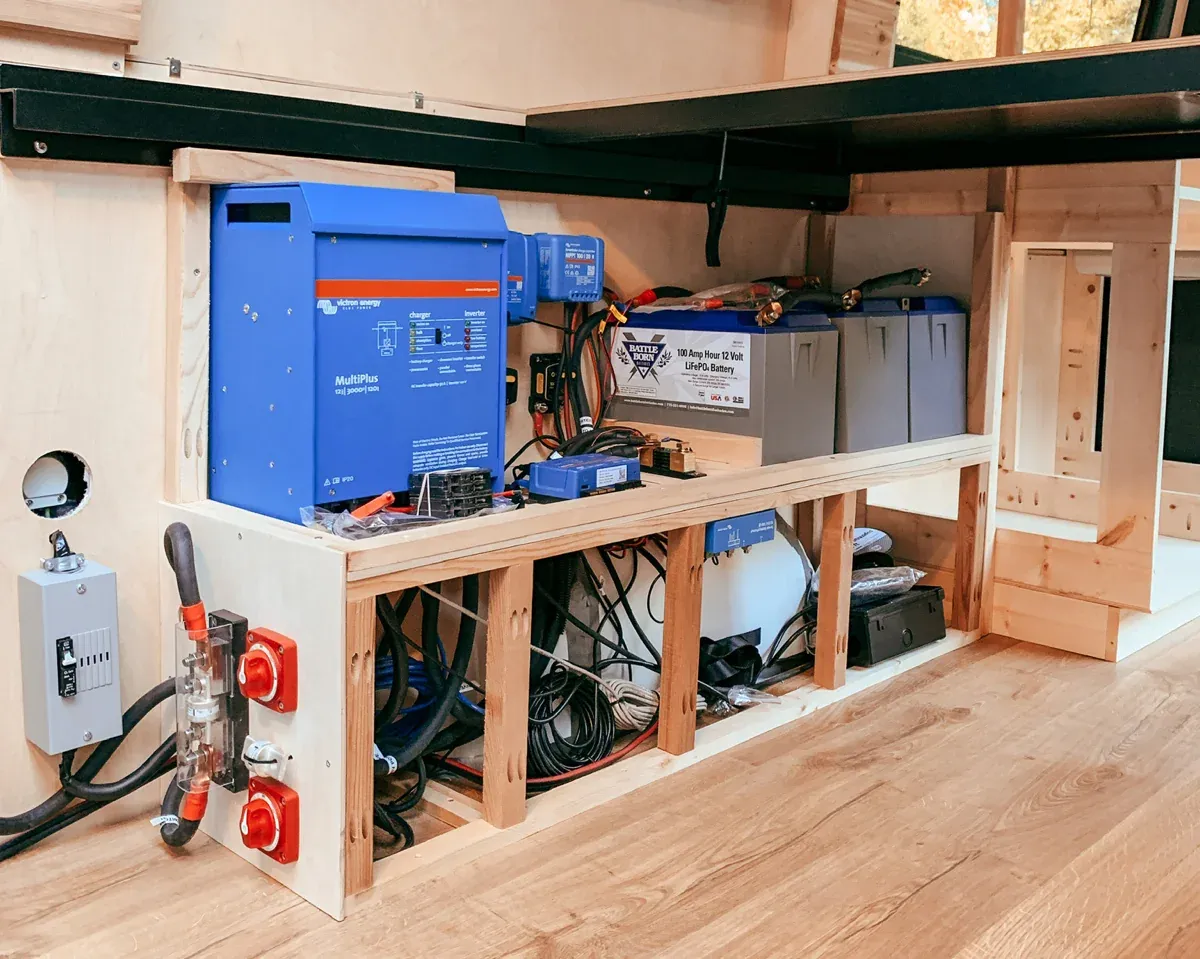
Before you fully enclose walls or ceilings, map out where every wire, outlet, and device will go, and ensure you have enough cable to satisfy your plan.
Ask yourself:
- How many lights do you want / or need?
- Will you charge laptops or run a fridge?
- Do you want solar panels on the roof?
- How often will you be off-grid, and for how long?
Your basic campervan electrical system usually includes:
- 12V battery bank(s) (preferably lithium)
- DC fuse box (for running your lights, fridge, USB ports)
- Inverter (for 120V power to charge laptops or run AC appliances)
- Solar panels (optional but awesome for off-grid van life)
- Shore power hookup (optional for plugging in at campsites)
- Battery charger, usually paired with the alternator (to charge from alternator, solar power, or shore power)
💡 Run your wires early. Even if you’re not installing everything right away, pre-run wiring behind your walls and ceiling while the van is still open.
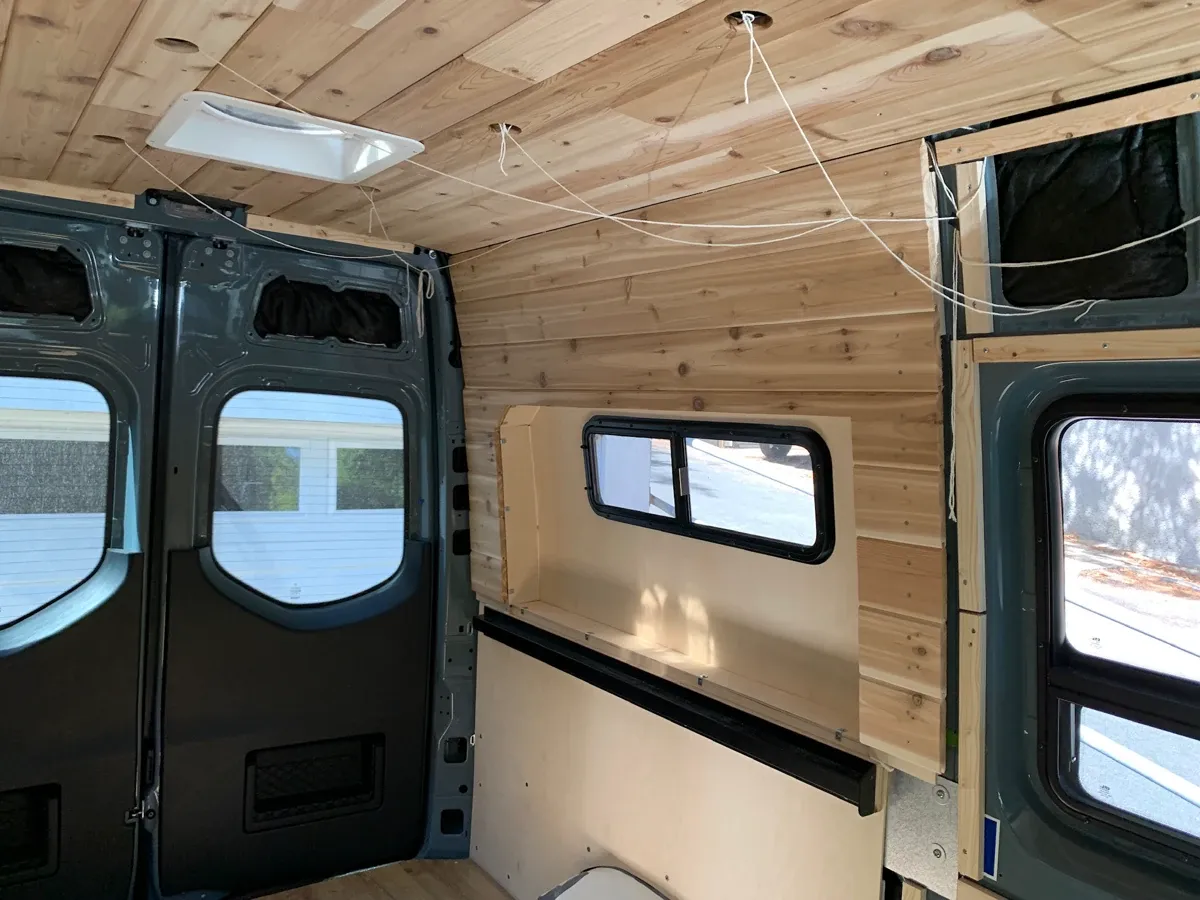
OR run twine, so that you can fish your wires through later, like we did for our ceiling lighting (see above). Label wiring clearly so future-you doesn’t lose the plot.
2. Install a roof vent (and windows if needed)
Airflow is everything! A roof vent fan (like a Maxxair or Dometic) keeps your van cooler, drier, and way more livable - just be sure to have another opening at the other end of your van so the air flows all the way through.
If your van doesn’t have side windows and you plan to spend a lot of time inside, you might also want to install:


