
This is where things start to come together. Your van is insulated, pre-wired, and prepped. Now it’s time to get building: the walls, floor, ceiling, and all the big, permanent features like the bed platform and cabinetry.
It’s not always fast, but it’s incredibly rewarding — this is probably the part of the build process where your truly starts feeling like your future home on wheels.
Is Van Life Really For You? Here’s What’s REALLY Involved
Is this lifestyle really for you? A real-world look at van life, who it’s for, and how to know if you’re ready to hit the road.
💌 This is part of our DIY Camper Van Build Series — a members-only guide from Campers and Camping.
We’re breaking down how to go from blank cargo van to custom camper, one step at a time.
✨ Not subscribed yet? Join the community and unlock the full series →
🔧 DIY Camper Van Build Series: Table of Contents
- Planning your DIY van conversion
- Prepping your van for conversion
- Designing your van layout and style
- Electrical, insulation, and utilities
- Building the core van structure ← You are here
- Finishing touches + van life essentials
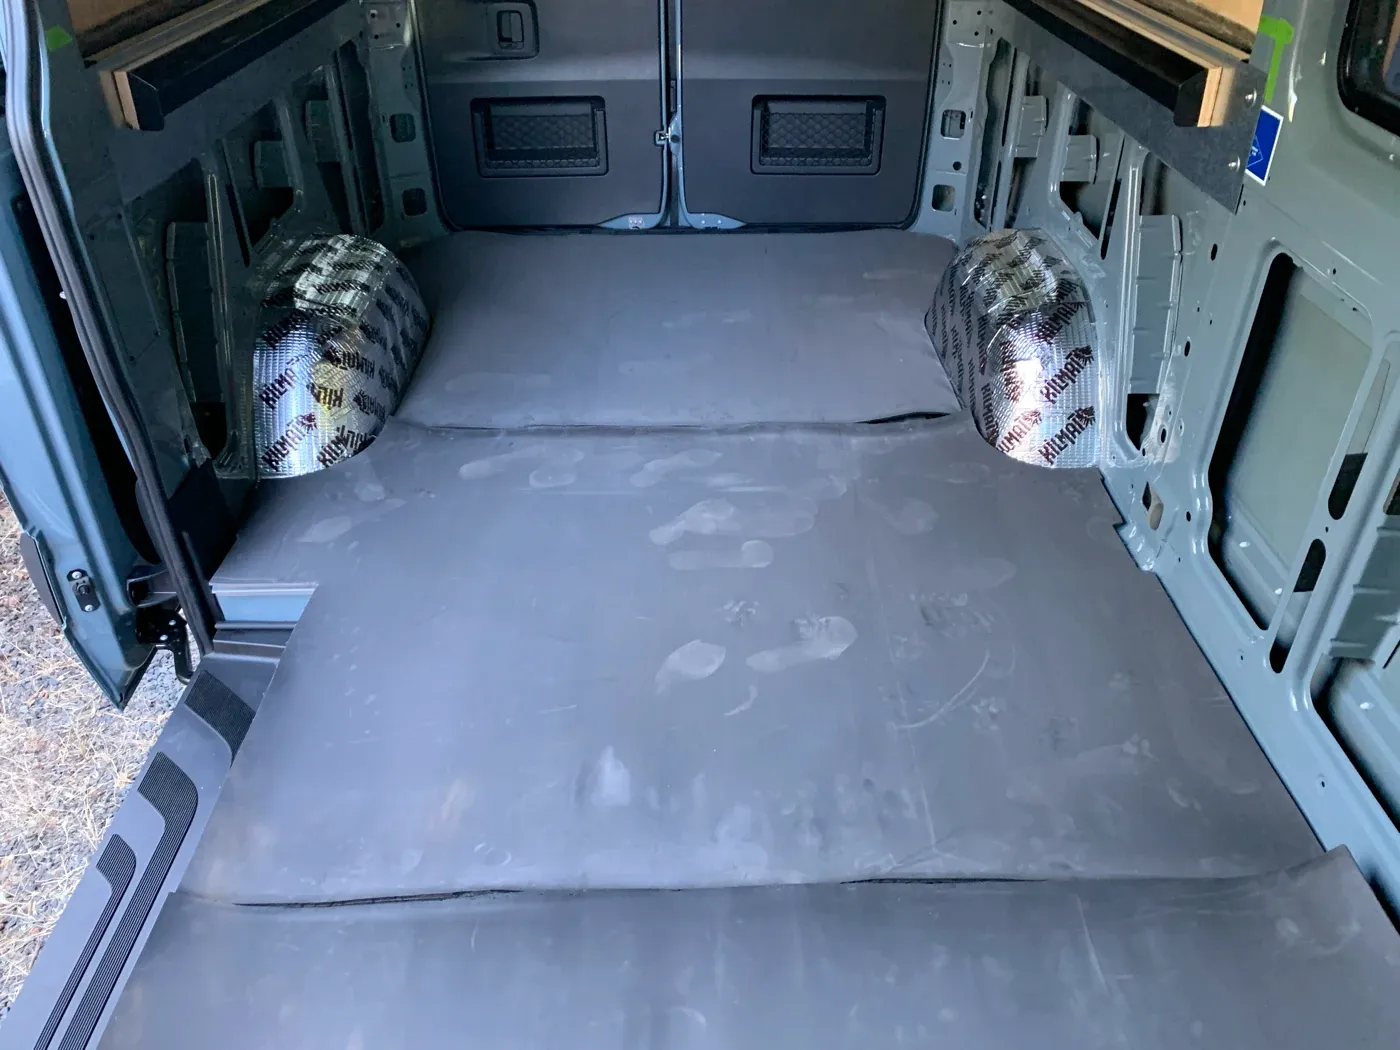
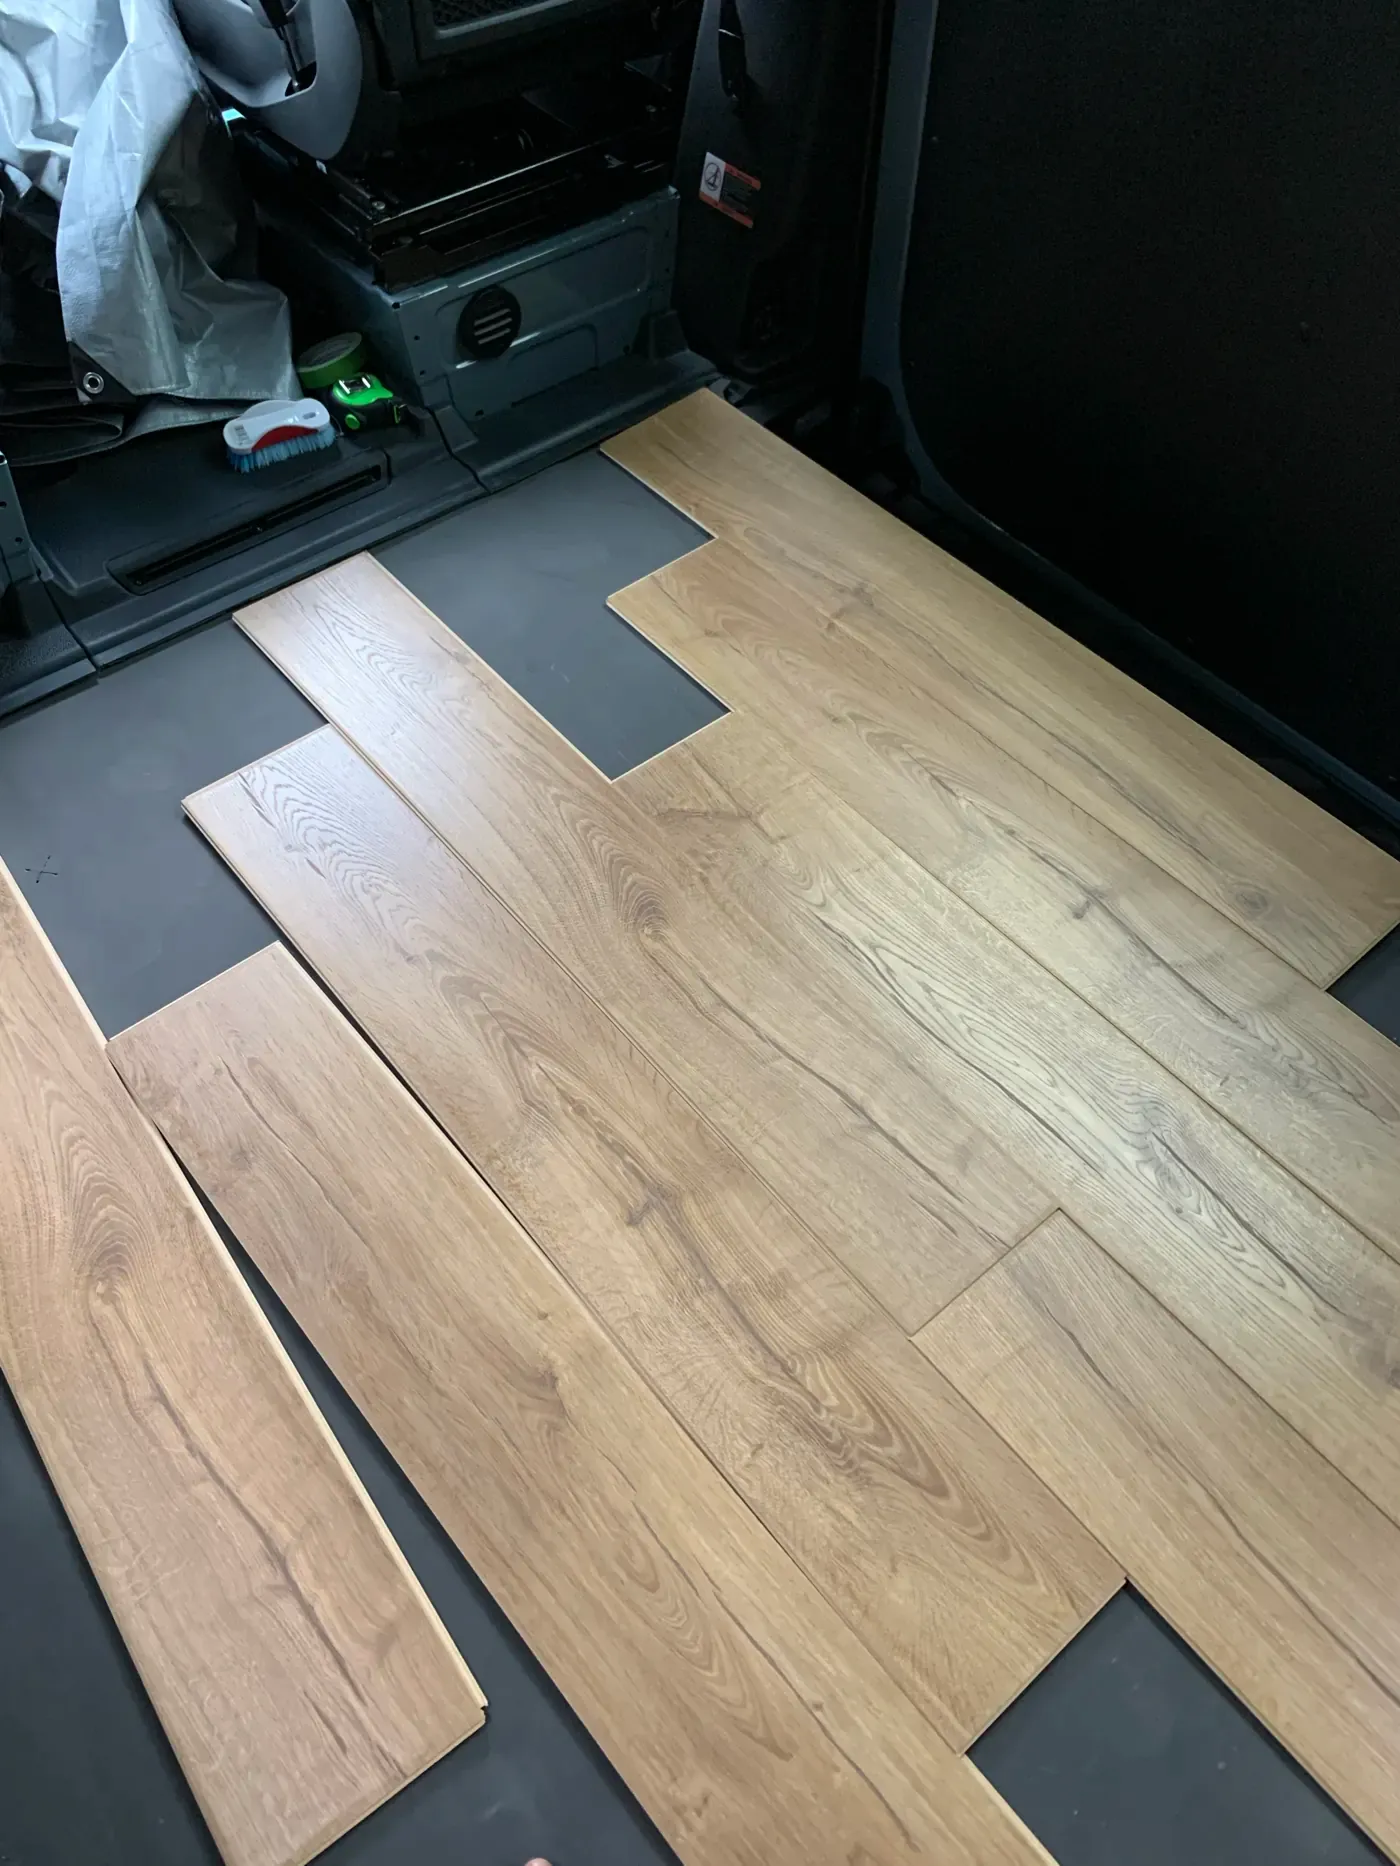
1. Soundproofing and subfloor
Before laying down anything decorative, cover the van’s floor and wheel arches with sound-deadening mats (like Noico or Kilmat).
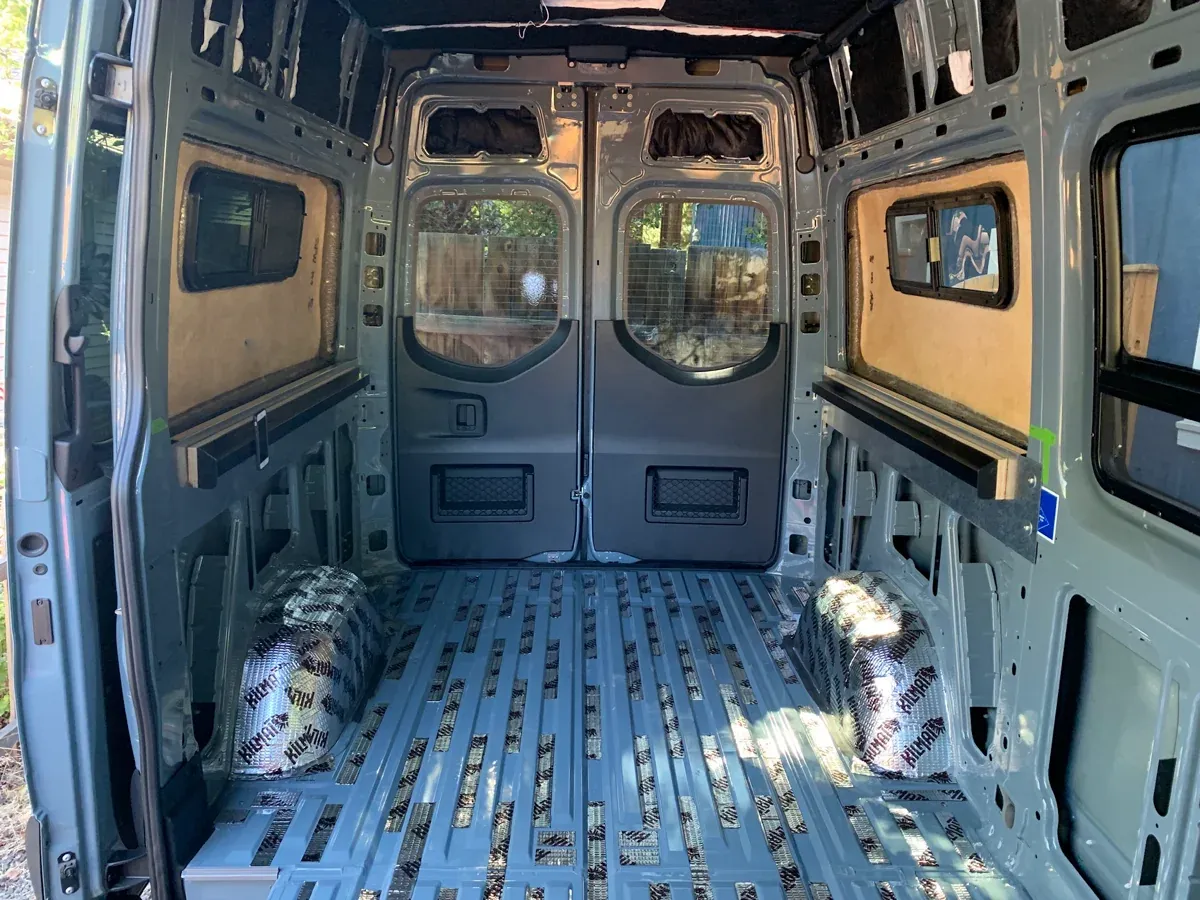
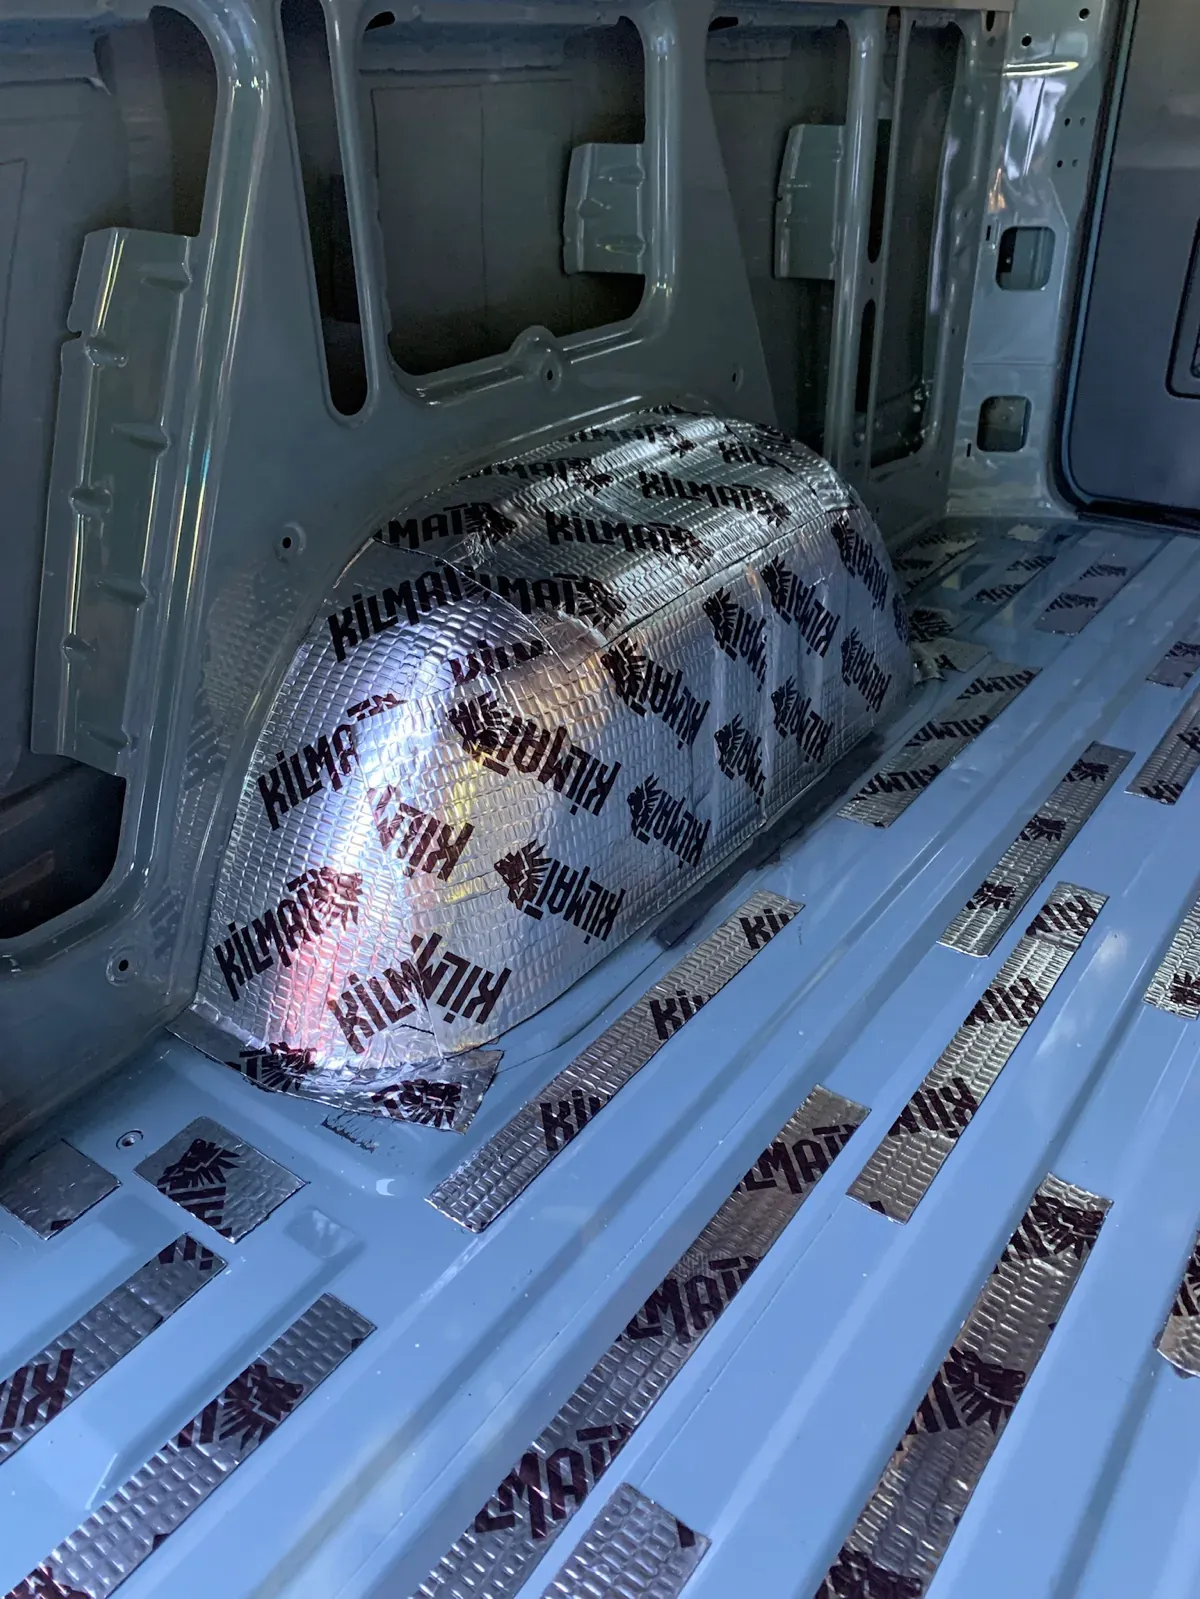
This cuts down on road noise and gives your build a quieter, more insulated feel.
Next:
- Use closed-cell foam (like Minicel) to insulate the floor
- Lay plywood subfloor panels on top (often ½" thick)
- Screw the subfloor into the van’s ribbed frame using self-tapping screws or rivnuts. As you can see in our photos - we didn't need to use a subfloor as we laid durable locking floor planks.
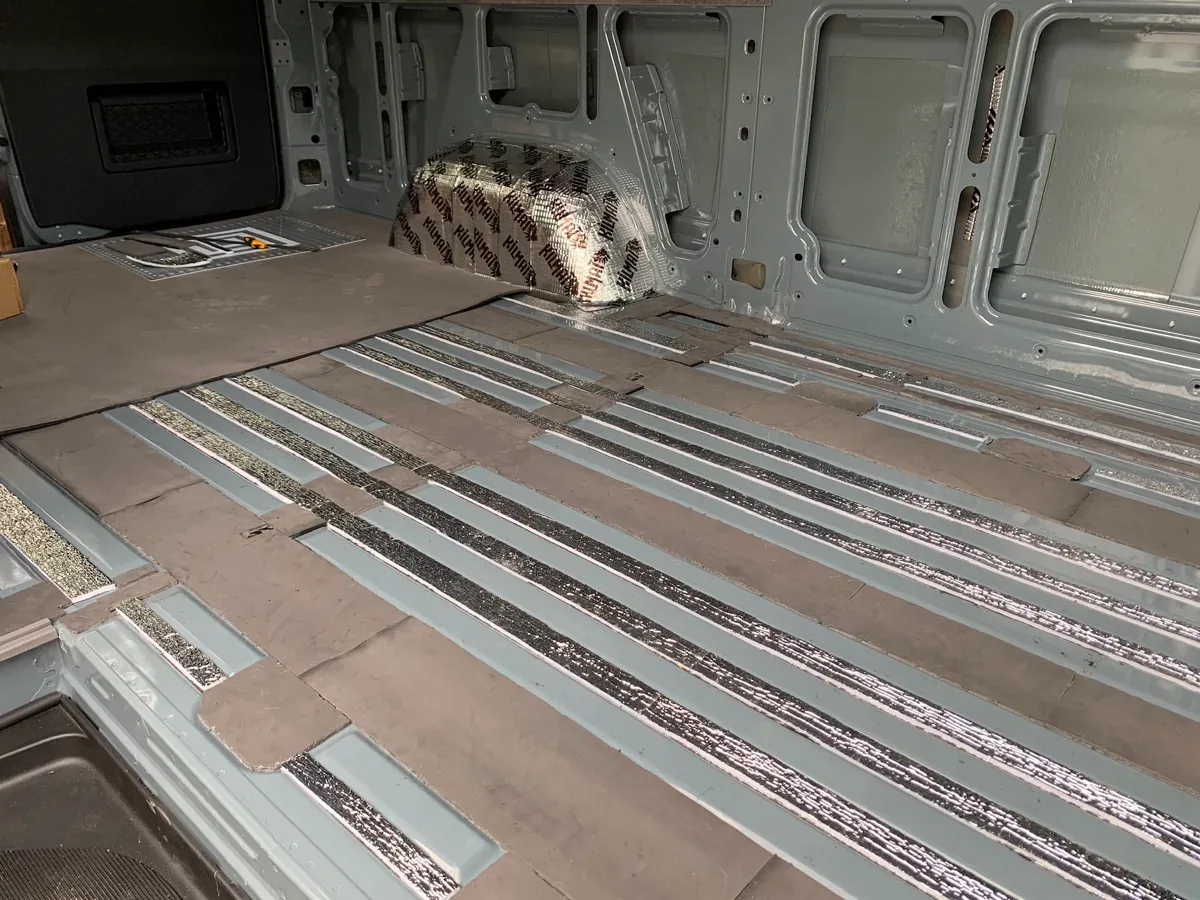
🚨 Don’t forget to seal any drilled holes to prevent rust down the line.
2. Build and mount your walls and ceiling
Once insulation and wiring are done, you can close everything up.


